Allow Users to Change Time in Windows 10 and Windows 11
 2023-07-08
These instructions are shamelessly copied from https://learn.microsoft.com/en-us/answers/questions/226778/allow-all-the-standard-windows-10-users-to-change
First, sign in with an administrative account and open the Group Policy Editor by hitting Start, typing gpedit.msc, and then pressing Enter. In the Group Policy window, in the left-hand pane, drill down to Computer Configuration > Windows Settings > Security Settings > Local Policies > User Rights Assignments. On the right, find the Change the system time item and double-click it.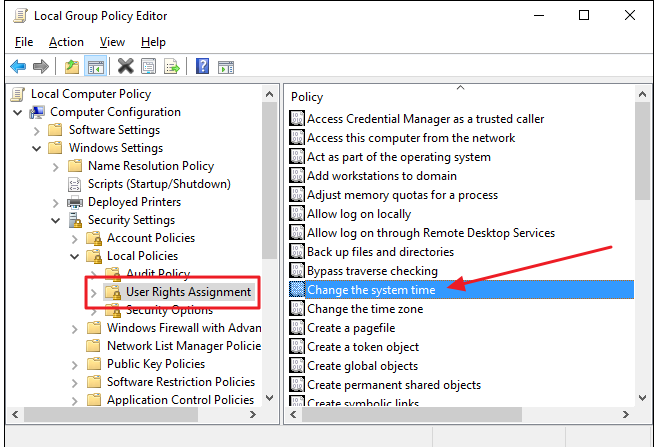
On the Local Security Setting tab of the properties window that pops up, note that by default, only the Administrators and LOCAL SERVICE groups are currently listed as having permission. Click Add User or Group.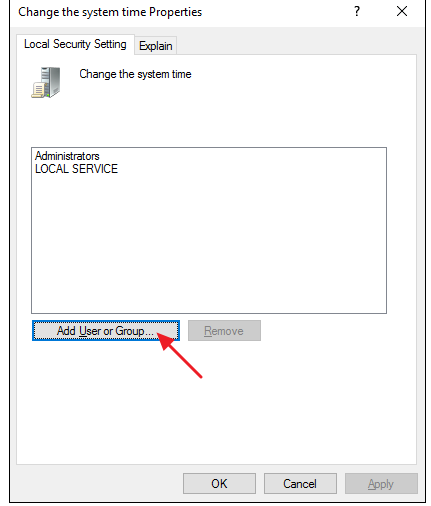
By default, Windows does not include group names when you perform a search, so you’ll need to enable that first. Click the Object Types button.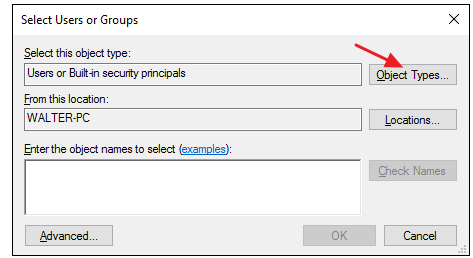
In the Object Types window, select the Groups check box to enable it and then click OK.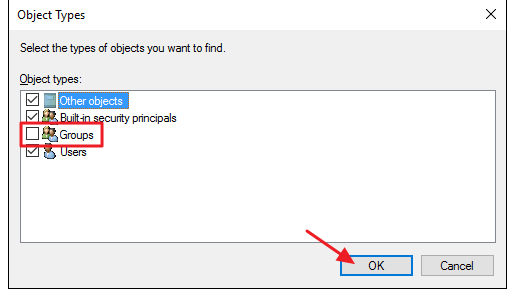
In the Enter the object names to select box, type Users and then click the Check Names button. Windows will check against usable names and then fill out the box with the full name of the group (<yourPCname>\Users). When that’s done, click OK.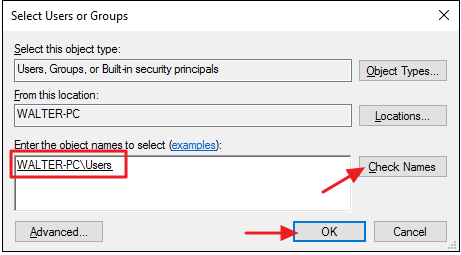
Back in the properties window for the system time setting, you can see that the Users group has now been added to the permissions list. Click OK to apply the settings and return to the Group Policy Editor.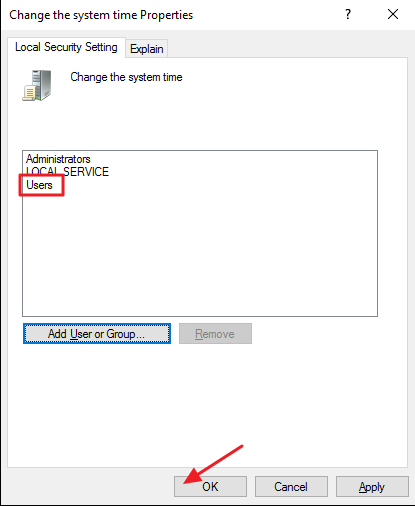
And that’s all there is to it, reboot computer to have the new settings applied.